Loading...

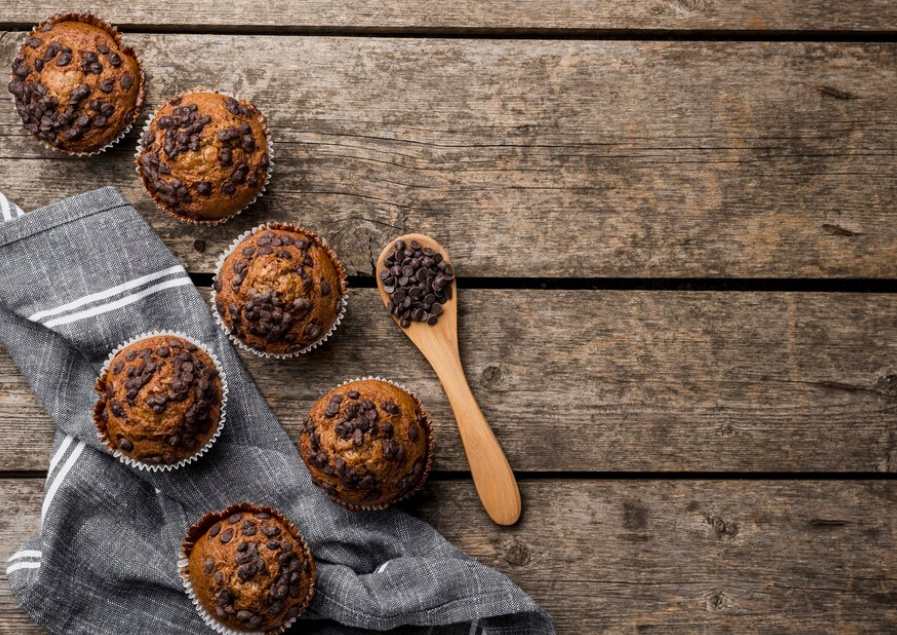
Gluten Free Muffins Recipe

Gluten-Free Blueberry Muffins

Ingredients:

  • 2 cups gluten-free all-purpose flour
  • 1/2 cup granulated sugar
  • 2 teaspoons baking powder
  • 1/2 teaspoon baking soda
  • 1/4 teaspoon salt
  • 1 cup plain yogurt or Greek yogurt (or dairy-free alternative)
  • 1/4 cup melted butter or coconut oil (or vegetable oil for dairy-free)
  • 2 large eggs
  • 1 teaspoon vanilla extract
  • 1 cup fresh or frozen blueberries (if using frozen, do not thaw)

Instructions:

  1. Preheat Oven: Preheat your oven to 375°F (190°C). Grease or line a muffin tin with paper liners.
  2. Mix Dry Ingredients: In a large mixing bowl, whisk together the gluten-free all-purpose flour, granulated sugar, baking powder, baking soda, and salt until well combined.
  3. Combine Wet Ingredients: In another bowl, mix together the yogurt, melted butter or oil, eggs, and vanilla extract until smooth.
  4. Combine Wet and Dry Ingredients: Pour the wet ingredients into the dry ingredients and stir until just combined. Be careful not to overmix; a few lumps are okay.
  5. Fold in Blueberries: Gently fold in the blueberries until evenly distributed throughout the batter.
  6. Fill Muffin Cups: Spoon the batter into the prepared muffin cups, filling each about 3/4 full.
  7. Bake: Place the muffin tin in the preheated oven and bake for 18-22 minutes, or until the muffins are golden brown and a toothpick inserted into the center comes out clean.
  8. Cool and Serve: Allow the muffins to cool in the tin for 5 minutes, then transfer them to a wire rack to cool completely. Enjoy warm or at room temperature.

Note: Store leftover muffins in an airtight container at room temperature for up to 3 days, or freeze for longer storage.
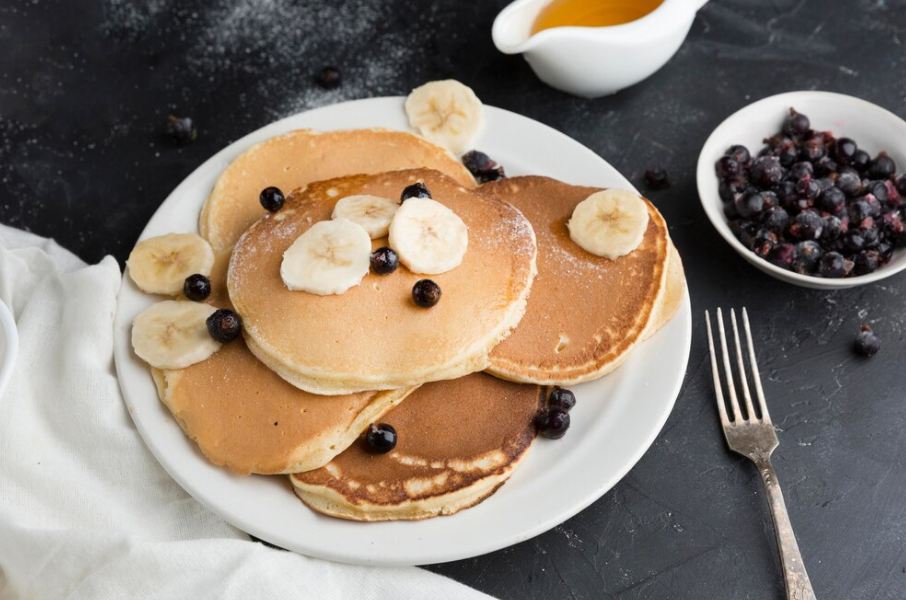
Gluten-Free Pancakes

Ingredients:

  • 1 cup gluten-free all-purpose flour
  • 2 tbsp sugar
  • 1 tsp baking powder
  • 1/2 tsp baking soda
  • 1/4 tsp salt
  • 1 cup buttermilk
  • 1 large egg
  • 2 tbsp melted butter
  • 1 tsp vanilla extract

Instructions:

  1. In a large bowl, whisk together the flour, sugar, baking powder, baking soda, and salt.
  2. In another bowl, mix buttermilk, egg, melted butter, and vanilla extract.
  3. Pour the wet ingredients into the dry ingredients and stir until combined.
  4. Heat a non-stick skillet over medium heat and grease lightly.
  5. Pour 1/4 cup of batter for each pancake and cook until bubbles form on the surface. Flip and cook until golden brown.
  6. Serve with your favorite toppings.

#homemade #homemadefood #homemadecooking #homemaderecipe #homemadetips #recipe #tastyrecipe #recipevideos #recipeoftheday #shortrecipe #shortrecipevideo #cookingtips #dinnerrecipe #lunchrecipe #looseweight #glutenfree #ketorecipe #veganrecipe #breakfastrecipe #tastyfoodrecipe

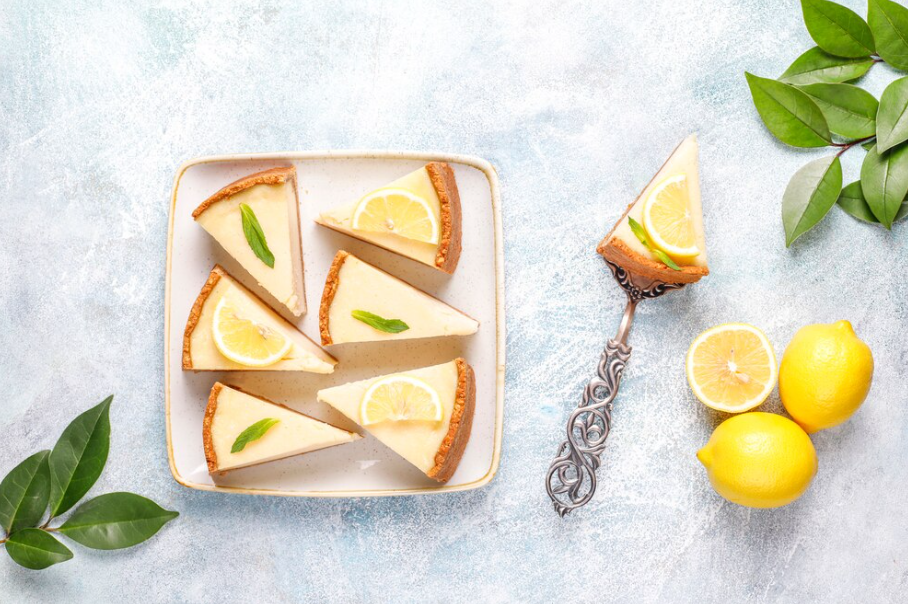
Gluten-Free Lemon Bars

Ingredients:

  • 1 cup gluten-free flour
  • 1/2 cup powdered sugar
  • 1/2 cup butter, softened
  • 1 cup granulated sugar
  • 2 tbsp gluten-free flour
  • 1/2 tsp baking powder
  • 3 eggs
  • 1/3 cup lemon juice

Instructions:

  1. Preheat oven to 350°F (175°C).
  2. Mix 1 cup flour, powdered sugar, and butter until crumbly. Press into a baking dish.
  3. Bake for 15-20 minutes until lightly browned.
  4. In a bowl, whisk granulated sugar, 2 tbsp flour, baking powder, eggs, and lemon juice.
  5. Pour over the baked crust.
  6. Bake for another 20-25 minutes until set.
  7. Cool and dust with powdered sugar before cutting into bars.

#homemade #homemadefood #homemadecooking #homemaderecipe #homemadetips #recipe #tastyrecipe #recipevideos #recipeoftheday #shortrecipe #shortrecipevideo #cookingtips #dinnerrecipe #lunchrecipe #looseweight #glutenfree #ketorecipe #veganrecipe #breakfastrecipe #tastyfoodrecipe

Rich and Fudgy Brownies

Brownies are a rich and fudgy dessert that everyone loves. Here’s how to make these delicious chocolate treats with a perfect balance of chewiness and fudginess:

  1. Ingredients: Gather the following ingredients: unsalted butter, semi-sweet chocolate, granulated sugar, eggs, vanilla extract, all-purpose flour, cocoa powder, and salt.
  2. Preheat Oven: Preheat your oven to 350°F (175°C). Grease and line a baking dish with parchment paper.
  3. Melt Chocolate and Butter: In a microwave-safe bowl, melt the butter and semi-sweet chocolate together in 30-second intervals, stirring until smooth.
  4. Mix Ingredients: In a large bowl, whisk together granulated sugar, eggs, and vanilla extract. Stir in the melted chocolate mixture.
  5. Combine Dry Ingredients: In a separate bowl, whisk together flour, cocoa powder, and salt. Gradually add the dry ingredients to the chocolate mixture, stirring until just combined.
  6. Pour Batter: Pour the brownie batter into the prepared baking dish and spread it evenly.
  7. Bake: Bake in the preheated oven for 25-30 minutes, or until a toothpick inserted into the center comes out with a few moist crumbs.
  8. Cool: Allow the brownies to cool completely in the baking dish before cutting into squares.
  9. Serve: Serve the brownies as is, or with a scoop of vanilla ice cream for an extra treat.
  10. Storage: Store any leftovers in an airtight container at room temperature for up to a week.

By following this recipe, you can enjoy rich and fudgy brownies, a perfect dessert for chocolate lovers.

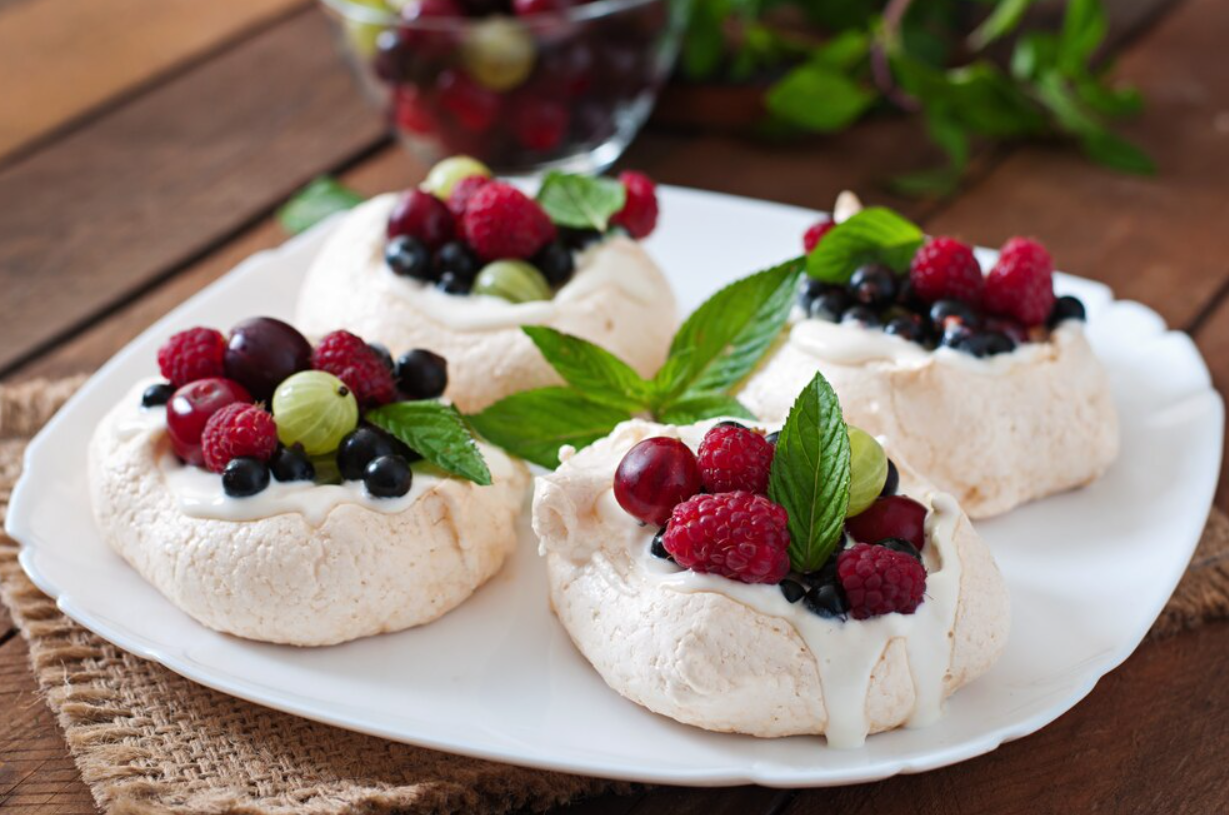
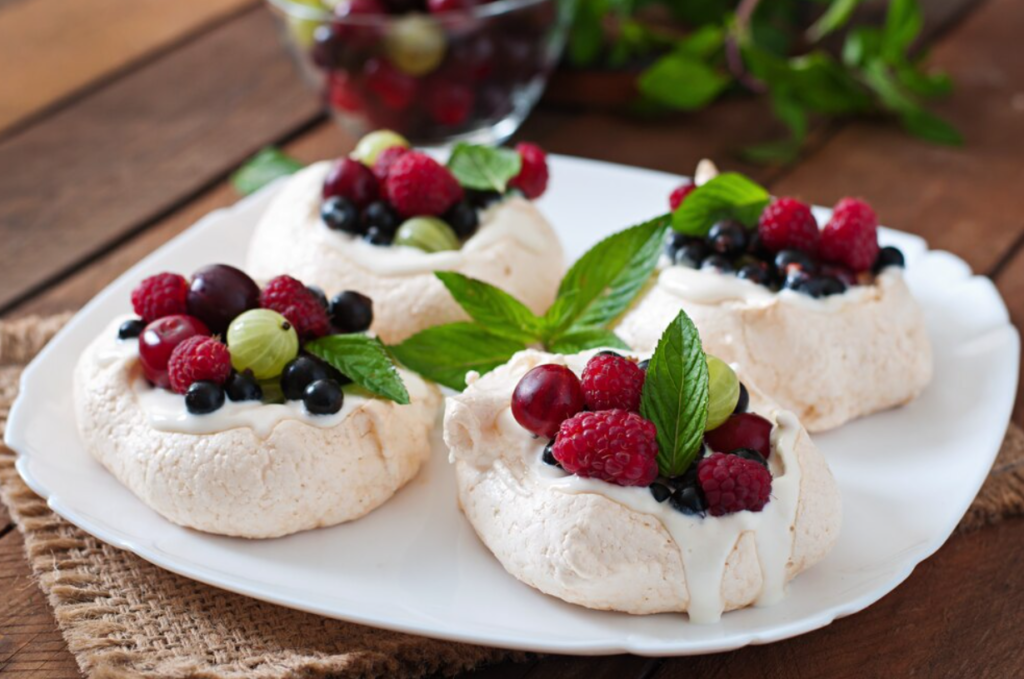
Fresh Berry Pavlova: A Light and Fruity Dessert

Fresh berry pavlova is a light and fruity dessert with a crisp meringue shell and a soft, marshmallow-like center. Here’s how to make this elegant and refreshing dessert:

  1. Ingredients: Gather the following ingredients: egg whites, granulated sugar, cornstarch, white vinegar, vanilla extract, heavy cream, powdered sugar, and fresh berries (such as strawberries, blueberries, and raspberries).
  2. Preheat Oven: Preheat your oven to 250°F (120°C). Line a baking sheet with parchment paper and draw a 9-inch circle on the parchment.
  3. Make Meringue: In a clean, dry bowl, beat the egg whites until soft peaks form. Gradually add granulated sugar, 1 tablespoon at a time, beating until stiff, glossy peaks form. Beat in cornstarch, white vinegar, and vanilla extract.
  4. Shape Meringue: Spoon the meringue onto the prepared baking sheet, using the drawn circle as a guide. Spread the meringue out to form a round, making the edges slightly higher than the center.
  5. Bake: Bake in the preheated oven for 1 hour and 15 minutes. Turn off the oven and let the meringue cool completely in the oven with the door slightly open.
  6. Prepare Topping: In a bowl, beat the heavy cream with powdered sugar until soft peaks form.
  7. Assemble Pavlova: Once the meringue is completely cool, transfer it to a serving platter. Spread the whipped cream over the center of the meringue and top with fresh berries.
  8. Serve: Serve the pavlova immediately for the best texture.
  9. Flavor Variations: Experiment with different fruits or add a drizzle of fruit sauce for added flavor.
  10. Storage: Store any leftovers in the refrigerator for up to two days, though the meringue may soften.

By following this recipe, you can enjoy a fresh berry pavlova, a light and fruity dessert that’s perfect for summer gatherings.

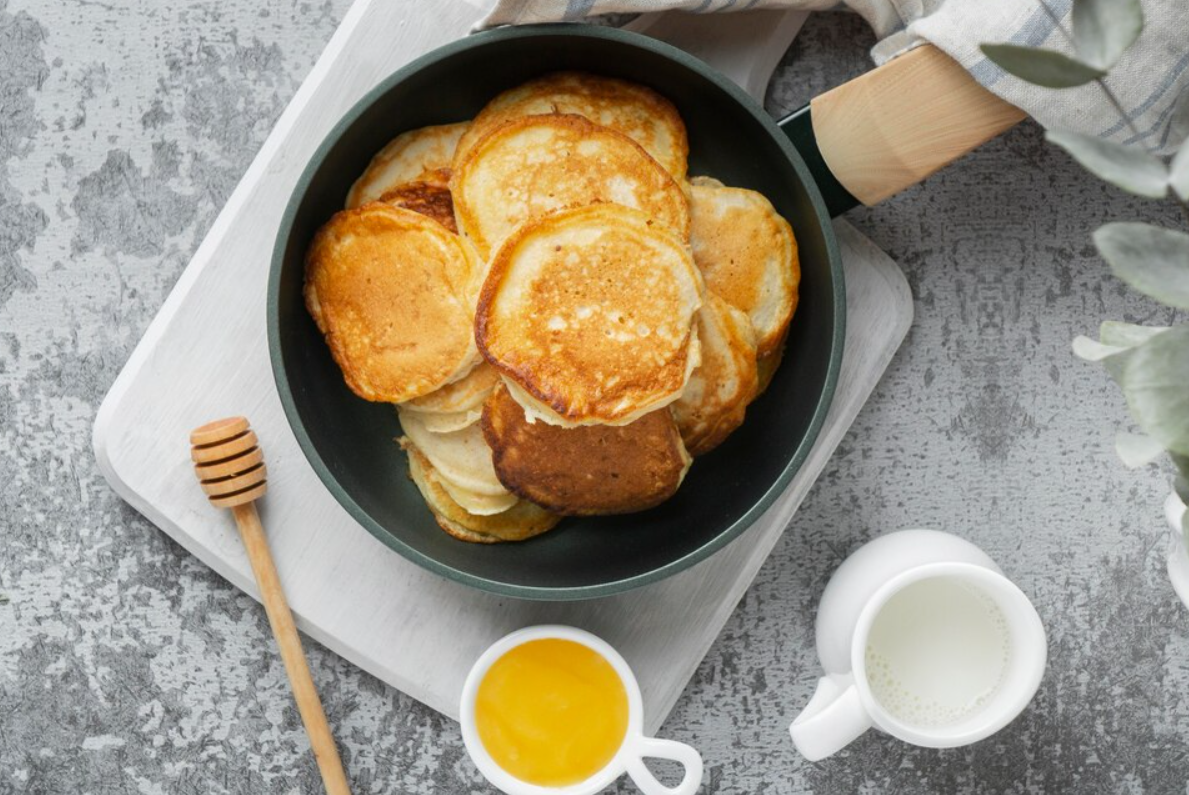
Gluten-Free Pancakes: A Fluffy Breakfast Delight

Gluten-free pancakes are a fluffy and delicious breakfast delight that’s easy to make. Learn how to prepare these perfect morning treats.

Gluten-free pancakes are a fluffy and delicious breakfast delight that’s easy to make. Here’s how to prepare these perfect morning treats:

  1. Ingredients: Gather the following ingredients: gluten-free flour blend, baking powder, salt, sugar, milk, eggs, melted butter, and vanilla extract.
  2. Mix Dry Ingredients: In a bowl, whisk together the gluten-free flour blend, baking powder, salt, and sugar.
  3. Mix Wet Ingredients: In another bowl, beat the eggs and then whisk in the milk, melted butter, and vanilla extract.
  4. Combine Wet and Dry Ingredients: Pour the wet ingredients into the dry ingredients and stir until just combined. Do not overmix.
  5. Cook Pancakes: Heat a griddle or skillet over medium heat and lightly grease with butter or oil. Pour 1/4 cup of batter for each pancake onto the griddle. Cook until bubbles form on the surface, then flip and cook until golden brown.
  6. Serve: Serve the pancakes warm with your favorite toppings, such as maple syrup, fresh fruit, or whipped cream.

By following this recipe, you can enjoy gluten-free pancakes, a fluffy breakfast delight that’s perfect for any morning.

#homemade #homemadefood #homemadecooking #homemaderecipe #homemadetips #recipe #tastyrecipe #recipevideos #recipeoftheday #shortrecipe #shortrecipevideo #cookingtips #dinnerrecipe #lunchrecipe #looseweight #glutenfree #ketorecipe #veganrecipe #breakfastrecipe #tastyfoodrecipe

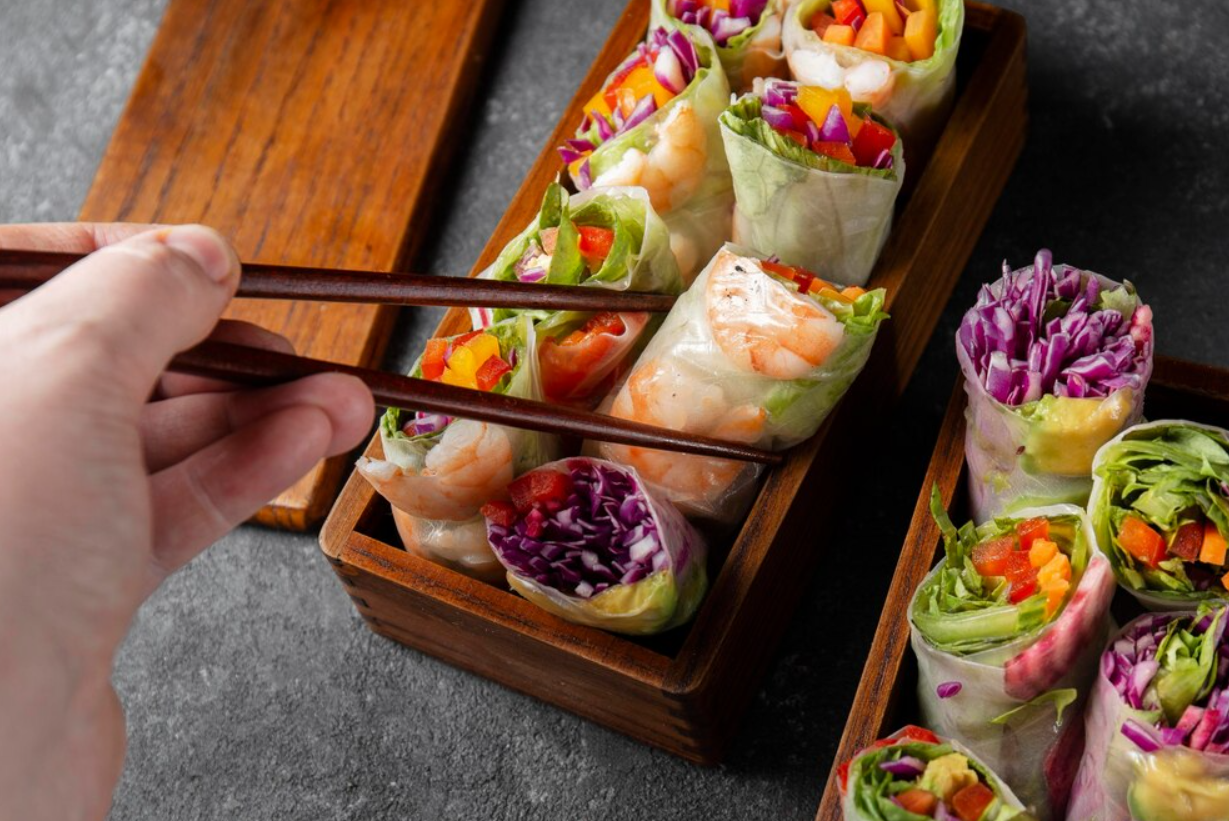
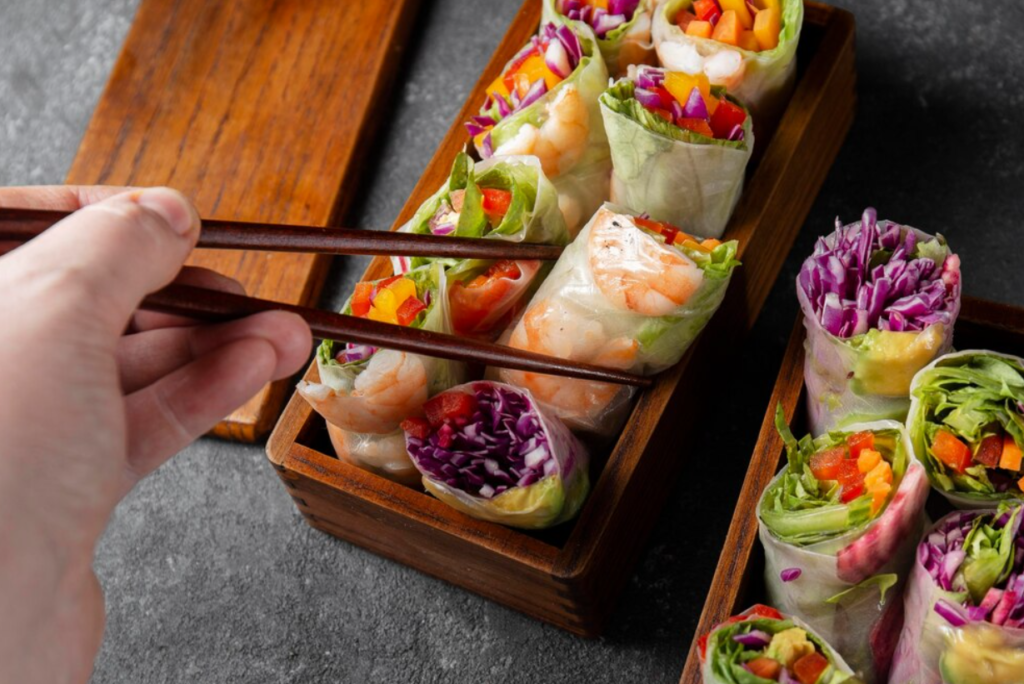
Homemade Sushi Rolls: A Fun and Nutritious Lunch

Homemade sushi rolls are a fun and nutritious lunch option that’s easy to customize. Here’s how to make delicious sushi rolls with various fillings and flavors:

  1. Cook Rice: Start by cooking sushi rice according to the package instructions. Let it cool to room temperature and season with rice vinegar, sugar, and salt.
  2. Prepare Fillings: Gather fillings such as fresh vegetables (cucumber, avocado, carrots), proteins (crab, shrimp, tofu), and other ingredients (nori, sesame seeds, pickled ginger).
  3. Rolling Mat: Use a bamboo sushi rolling mat for easy rolling.
  4. Assemble Rolls: Place a sheet of nori on the rolling mat. Spread an even layer of sushi rice over the nori, leaving a small border at the top. Add your desired fillings in a line near the bottom.
  5. Roll: Use the rolling mat to carefully roll the sushi, applying gentle pressure to keep it tight. Seal the edge with a bit of water.
  6. Slice: Use a sharp knife to slice the sushi roll into bite-sized pieces.
  7. Flavor Variations: Experiment with different combinations:
    • California Roll: Fill with imitation crab, avocado, and cucumber.
    • Vegetarian Roll: Fill with avocado, cucumber, carrot, and pickled radish.
    • Spicy Tuna Roll: Fill with spicy tuna mix (tuna, mayo, sriracha) and cucumber.
  8. Serving Suggestions: Serve sushi rolls with soy sauce, wasabi, pickled ginger, and a side of miso soup or seaweed salad for a complete meal.
  9. Meal Prep: Sushi rolls can be prepared in advance and stored in the fridge for up to one day. Wrap tightly in plastic wrap to maintain freshness.
  10. Recipe Example: For a classic California roll, spread sushi rice over nori, add imitation crab, avocado, and cucumber. Roll tightly using a bamboo mat and slice into bite-sized pieces. Serve with soy sauce and pickled ginger.

By customizing your sushi rolls with different fillings and flavors, you can enjoy a fun and nutritious lunch that’s perfect for any day.

homemade #homemadefood #homemadecooking #homemaderecipe #homemadetips #recipe #tastyrecipe #recipevideos #recipeoftheday #shortrecipe #shortrecipevideo #cookingtips #dinnerrecipe #lunchrecipe #looseweight #glutenfree #ketorecipe #veganrecipe #breakfastrecipe #tastyfoodrecipe

Lemon Bars

Ingredients: all-purpose flour, powdered sugar, butter, eggs, sugar, lemon juice, lemon zest, baking powder, salt.

What is the trick to cutting lemon bars?

Dusting the knife with powdered sugar before cutting lemon bars can help to reduce sticking and create cleaner cuts.

Do lemon bars need to be refrigerated? 

Yes, it’s best to store lemon bars in the refrigerator. To store them, simply cover them with plastic wrap and pop them in the fridge. Stored this way, your lemon bars should keep for about 1 week.

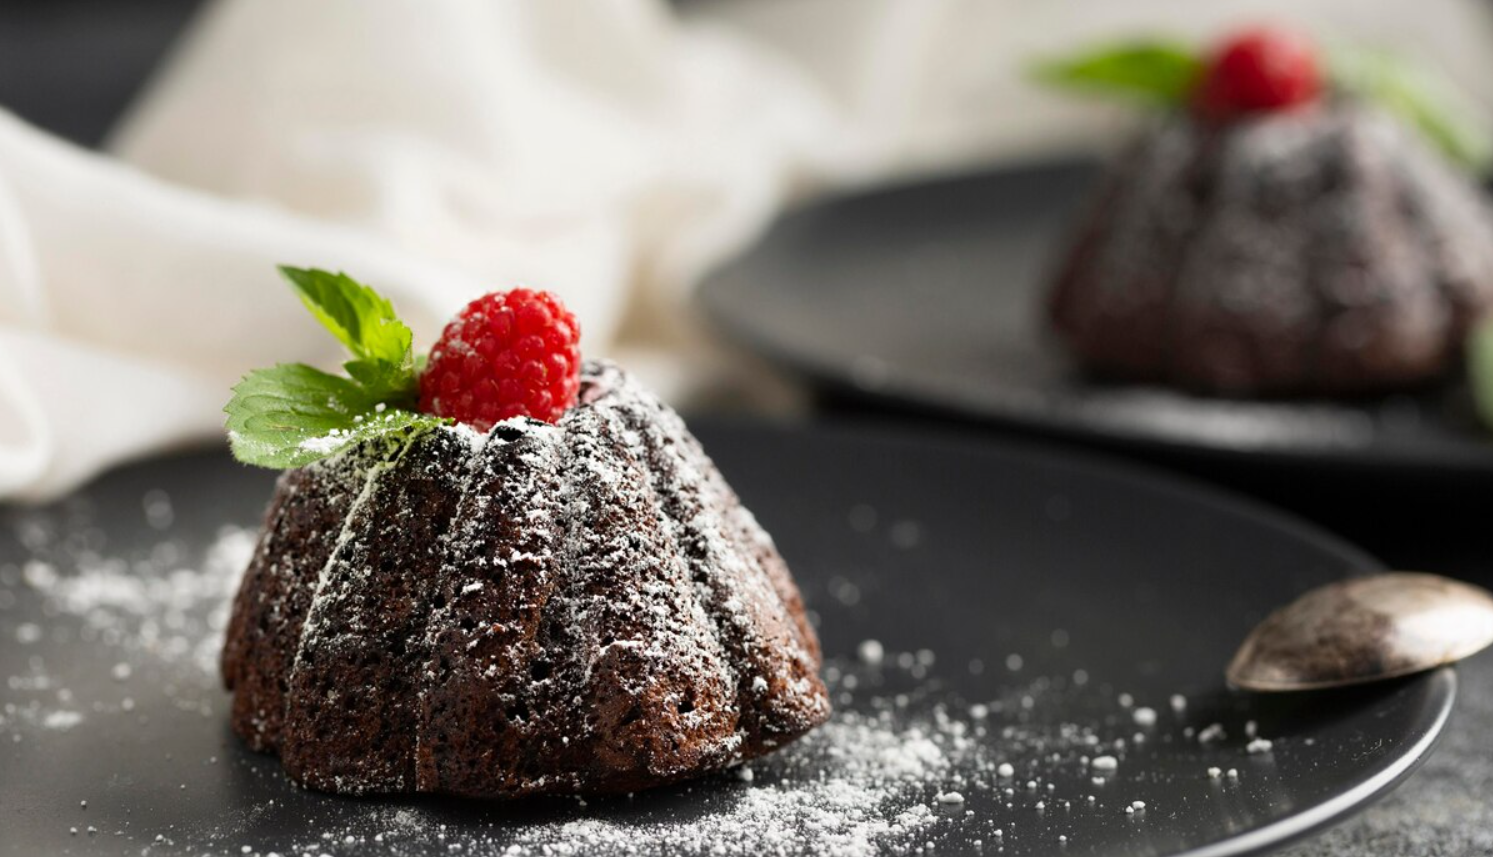
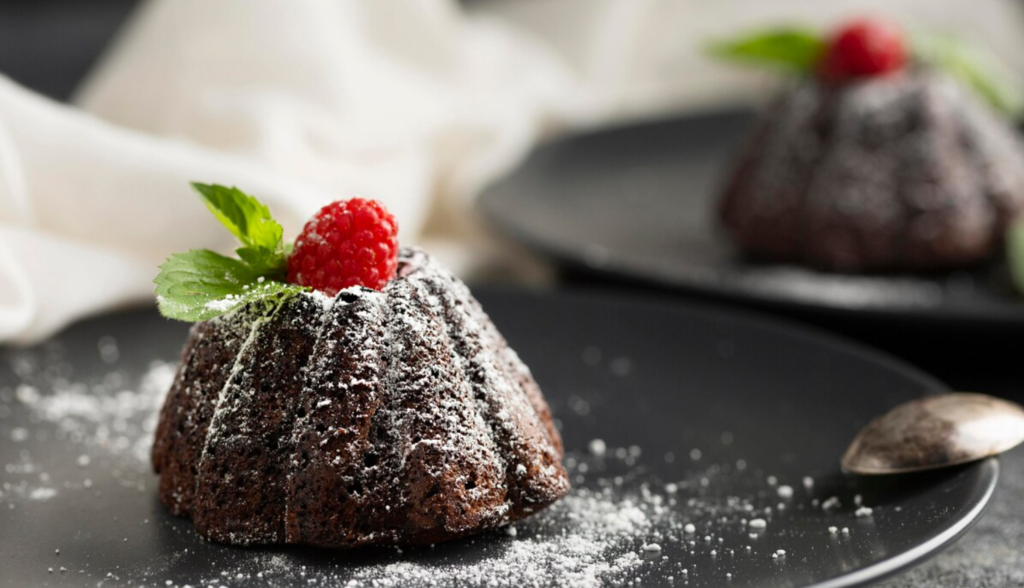
Decadent Chocolate Lava Cakes

Chocolate lava cakes are a decadent dessert with a gooey, molten center. Here’s how to make these rich and indulgent cakes that are perfect for a special treat:

  1. Ingredients: Gather the following ingredients: unsalted butter, semi-sweet chocolate, powdered sugar, eggs, egg yolks, all-purpose flour, and vanilla extract.
  2. Preheat Oven: Preheat your oven to 425°F (220°C). Grease and flour 4 ramekins.
  3. Melt Chocolate and Butter: In a microwave-safe bowl, melt the butter and semi-sweet chocolate together in 30-second intervals, stirring until smooth.
  4. Mix Ingredients: In a separate bowl, whisk together powdered sugar, eggs, and egg yolks until well combined. Stir in the melted chocolate mixture and vanilla extract. Fold in the flour until just combined.
  5. Fill Ramekins: Divide the batter evenly among the prepared ramekins.
  6. Bake: Place the ramekins on a baking sheet and bake in the preheated oven for 12-14 minutes, or until the edges are set but the centers are still soft.
  7. Cool and Serve: Let the cakes cool in the ramekins for 1 minute before inverting them onto serving plates. Serve immediately with a scoop of vanilla ice cream or a dollop of whipped cream.
  8. Flavor Variations: Experiment with different types of chocolate or add a pinch of sea salt for a unique twist.
  9. Storage: These cakes are best enjoyed fresh, but you can store any leftovers in the refrigerator for up to two days and reheat gently before serving.

By following this recipe, you can enjoy decadent chocolate lava cakes with a molten center, perfect for a special dessert.

Classic Lemonade: A Refreshing Summer Drink

Classic lemonade is a refreshing and tangy drink perfect for hot summer days. Here’s how to make this simple and delicious beverage with fresh lemons and a touch of sweetness:

  1. Ingredients: Gather the following ingredients: fresh lemons, granulated sugar, water, and ice.
  2. Juice Lemons: Juice enough lemons to yield about 1 cup of fresh lemon juice. This usually requires 4-6 lemons, depending on their size.
  3. Make Simple Syrup: In a saucepan, combine 1 cup of water and 1 cup of granulated sugar. Heat over medium heat, stirring occasionally, until the sugar is completely dissolved. Remove from heat and let the simple syrup cool.
  4. Combine Ingredients: In a large pitcher, combine the fresh lemon juice, simple syrup, and 4 cups of cold water. Stir well to mix.
  5. Adjust Sweetness: Taste the lemonade and adjust the sweetness by adding more water or sugar as desired.
  6. Serve: Fill glasses with ice and pour the lemonade over the ice. Garnish with lemon slices or mint leaves if desired.
  7. Storage: Store any leftover lemonade in the refrigerator for up to 3 days.

By following this recipe, you can enjoy a classic lemonade, a refreshing and tangy drink perfect for summer.

error: Content is protected !!